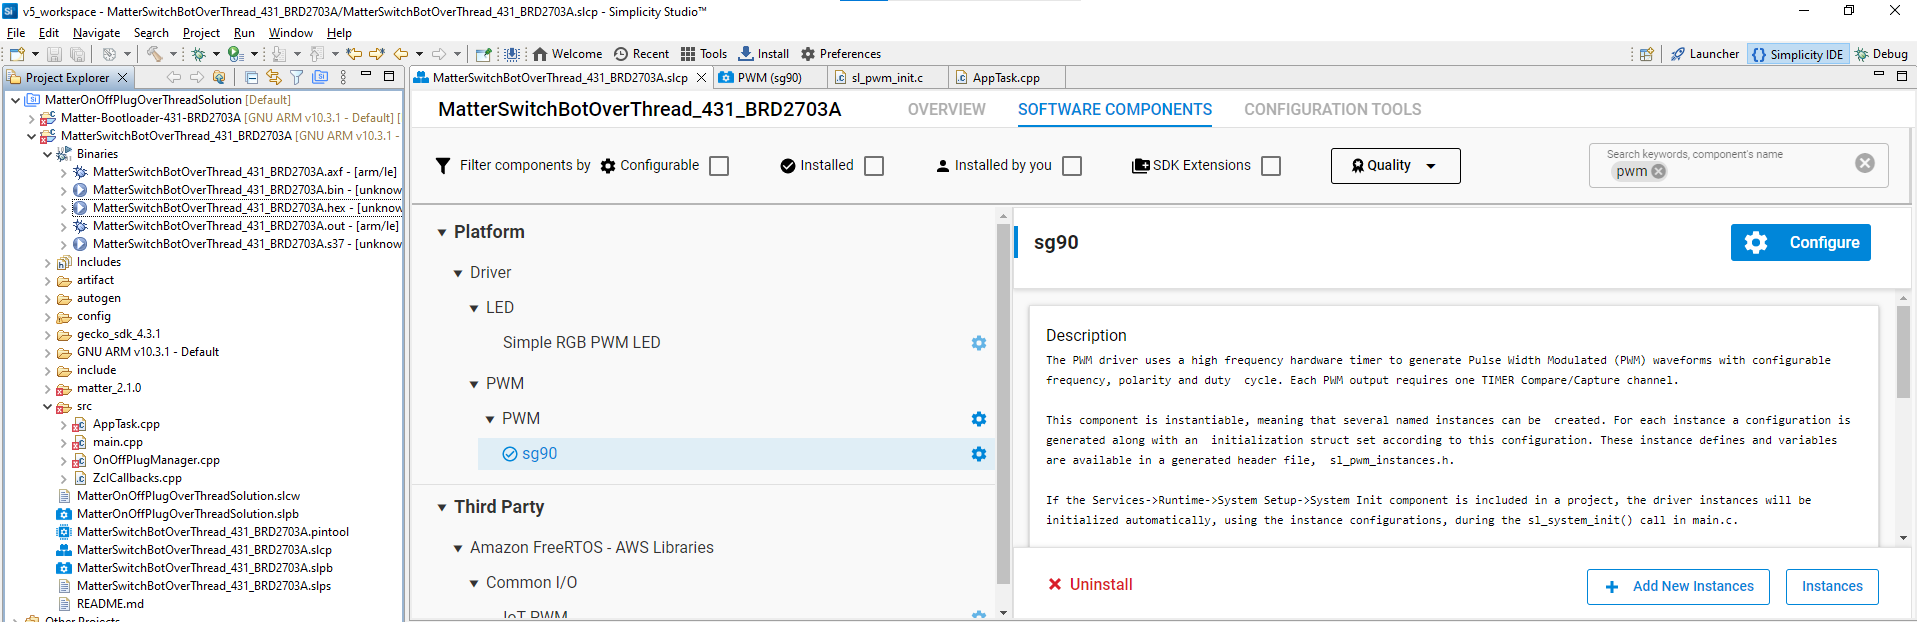
The following steps show you how to add one extra endpoint for Matter/OpenThread Light with Silicon Labs EFR32MG24 BRD4187C radio board.
1. Create MatterLightOverThread with Silicon Labs EFR32MG24 BRD4187C radio board first.
2. Start ZAP tool (Zigbee Cluster Configurator) and copy endpoint 1 to create endpoint 2.
3. Enable all required client->server commands for endpoint 2 of on/off and level cluster in ZAP tool.
4. Make a copy of LightingManager.h to LightingManager_ep2.h and LightingManager.cpp to LightingManager_ep2.cpp.
5. Add "#include "LightingManager_ep2.h"" and the following items for endpoint 2 in AppTask.h.
static void ActionInitiated_ep2(LightingManager_ep2::Action_t aAction, int32_t aActor);
static void ActionCompleted_ep2(LightingManager_ep2::Action_t aAction);
static void UpdateClusterState_ep2(intptr_t context);
6. Add led2 for endpoint by clicking "Adding New Instances" in Simple LED SOFTWARE COMPONENTS and configure led2 to use PA05 which is pin 7 on EXP header of BRD4001A/BRD4002A mainboard.
7. Add "#define LIGHT_LED_EP2 &sl_led_led2" and "LEDWidget sLightLED_ep2;" for led light of endpoint 2 in AppTask.c.
8. Add implementation of ActionInitiated_ep2, ActionCompleted_ep2, and UpdateClusterState_ep2 in AppTask.c.
void AppTask::ActionInitiated_ep2(LightingManager_ep2::Action_t aAction, int32_t aActor)
{
// Action initiated, update the light led
bool lightOn = aAction == LightingManager_ep2::ON_ACTION;
EFR32_LOG("Turning _ep2 light %s", (lightOn) ? "On" : "Off")
#ifdef ENABLE_WSTK_LEDS
sLightLED_ep2.Set(lightOn);
#endif // ENABLE_WSTK_LEDS
#ifdef DISPLAY_ENABLED
sAppTask.GetLCD().WriteDemoUI(lightOn);
#endif
#ifdef SL_CATALOG_SIMPLE_BUTTON_PRESENT
if (aActor == AppEvent::kEventType_Button)
{
sAppTask.mSyncClusterToButtonAction = true;
}
#endif
}
void AppTask::ActionCompleted_ep2(LightingManager_ep2::Action_t aAction)
{
// action has been completed bon the light
if (aAction == LightingManager_ep2::ON_ACTION)
{
EFR32_LOG("EP2 Light ON")
}
else if (aAction == LightingManager_ep2::OFF_ACTION)
{
EFR32_LOG("EP2 Light OFF")
}
#ifdef SL_CATALOG_SIMPLE_BUTTON_PRESENT
if (sAppTask.mSyncClusterToButtonAction)
{
chip::DeviceLayer::PlatformMgr().ScheduleWork(UpdateClusterState_ep2, reinterpret_cast<intptr_t>(nullptr));
sAppTask.mSyncClusterToButtonAction = false;
}
#endif
}
void AppTask::UpdateClusterState_ep2(intptr_t context)
{
uint8_t newValue = LightMgr_ep2().IsLightOn();
// write the new on/off value
EmberAfStatus status = OnOffServer::Instance().setOnOffValue(2, newValue, false);
if (status != EMBER_ZCL_STATUS_SUCCESS)
{
EFR32_LOG("ERR: updating ep2 on/off %x", status);
}
}
9. Add kEventType_Light_ep2 enum behind kEventType_Light in AppEvent.h and use the following codes to replace original codes in LightActionEventHandler to support endpoint 2 light action.
void AppTask::LightActionEventHandler(AppEvent * aEvent)
{
bool initiated = false;
LightingManager::Action_t action;
LightingManager_ep2::Action_t action_ep2;
int32_t actor;
int32_t actor_ep2;
CHIP_ERROR err = CHIP_NO_ERROR;
if (aEvent->Type == AppEvent::kEventType_Light)
{
action = static_cast<LightingManager::Action_t>(aEvent->LightEvent.Action);
actor = aEvent->LightEvent.Actor;
}
else if (aEvent->Type == AppEvent::kEventType_Light_ep2)
{
action_ep2 = static_cast<LightingManager_ep2::Action_t>(aEvent->LightEvent.Action);
actor_ep2 = aEvent->LightEvent.Actor;
}
#ifdef SL_CATALOG_SIMPLE_BUTTON_PRESENT
else if (aEvent->Type == AppEvent::kEventType_Button)
{
action = (LightMgr().IsLightOn()) ? LightingManager::OFF_ACTION : LightingManager::ON_ACTION;
actor = AppEvent::kEventType_Button;
}
#endif
else
{
err = APP_ERROR_UNHANDLED_EVENT;
}
if (err == CHIP_NO_ERROR)
{
if (aEvent->Type == AppEvent::kEventType_Light){
initiated = LightMgr().InitiateAction(actor, action);
if (!initiated)
{
EFR32_LOG("Action is already in progress or active.");
}
}
else if (aEvent->Type == AppEvent::kEventType_Light_ep2)
{
initiated = LightMgr_ep2().InitiateAction(actor_ep2, action_ep2);
if (!initiated)
{
EFR32_LOG("_ep2 Action is already in progress or active.");
}
}
}
}
10. Add "#include "LightingManager_ep2.h"" ZclCallbacks.cpp and use the following codes in MatterPostAttributeChangeCallback function.
void MatterPostAttributeChangeCallback(const chip::app::ConcreteAttributePath & attributePath, uint8_t type, uint16_t size,
uint8_t * value)
{
ClusterId clusterId = attributePath.mClusterId;
AttributeId attributeId = attributePath.mAttributeId;
EndpointId endpoint = attributePath.mEndpointId;
ChipLogProgress(Zcl, "Cluster callback: " ChipLogFormatMEI, ChipLogValueMEI(clusterId));
if (clusterId == OnOff::Id && attributeId == OnOff::Attributes::OnOff::Id)
{
//ChipLogProgress(Zcl, "<---YK---> MatterPostAttributeChangeCallback Endpoint %d on/off value=%d", endpoint, value);
if(endpoint==1)
LightMgr().InitiateAction(AppEvent::kEventType_Light, *value ? LightingManager::ON_ACTION : LightingManager::OFF_ACTION);
else if(endpoint==2)
LightMgr_ep2().InitiateAction(AppEvent::kEventType_Light_ep2, *value ? LightingManager_ep2::ON_ACTION : LightingManager_ep2::OFF_ACTION);
}
else if (clusterId == LevelControl::Id)
{
ChipLogProgress(Zcl, "Level Control attribute ID: " ChipLogFormatMEI " Type: %u Value: %u, length %u",
ChipLogValueMEI(attributeId), type, *value, size);
// WIP Apply attribute change to Light
}
else if (clusterId == ColorControl::Id)
{
ChipLogProgress(Zcl, "Color Control attribute ID: " ChipLogFormatMEI " Type: %u Value: %u, length %u",
ChipLogValueMEI(attributeId), type, *value, size);
// WIP Apply attribute change to Light
}
else if (clusterId == OnOffSwitchConfiguration::Id)
{
ChipLogProgress(Zcl, "OnOff Switch Configuration attribute ID: " ChipLogFormatMEI " Type: %u Value: %u, length %u",
ChipLogValueMEI(attributeId), type, *value, size);
// WIP Apply attribute change to Light
}
else if (clusterId == Identify::Id)
{
ChipLogProgress(Zcl, "Identify attribute ID: " ChipLogFormatMEI " Type: %u Value: %u, length %u",
ChipLogValueMEI(attributeId), type, *value, size);
}
}
11. Build and download MatterLightOverThread into BRD4187C
12. Join the MatterLightOverThread device into Matter/Thread network of Apple Home mini with Hoe App and you can see two endpoints in Home App to control them separately.
p.s. for your references, on/off command received flow in Matter source code is like the followings:
InteractionModelEngine::OnMessageReceived
ProcessInvokeRequest
ProcessCommandDataIB
DispatchCommand
DispatchSingleClusterCommand
DispatchServerCommand
emberAfOnOffClusterOffCallback
OnOffServer::Instance().offCommand(commandPath);
OnOffServer::setOnOffValue
Attributes::OnOff::Set
emberAfWriteServerAttribute [#define emberAfWriteServerAttribute emberAfWriteAttribute (af.h)]
emberAfWriteAttribute
emAfWriteAttribute
MatterPostAttributeChangeCallback (ZclCallbacks.cpp)